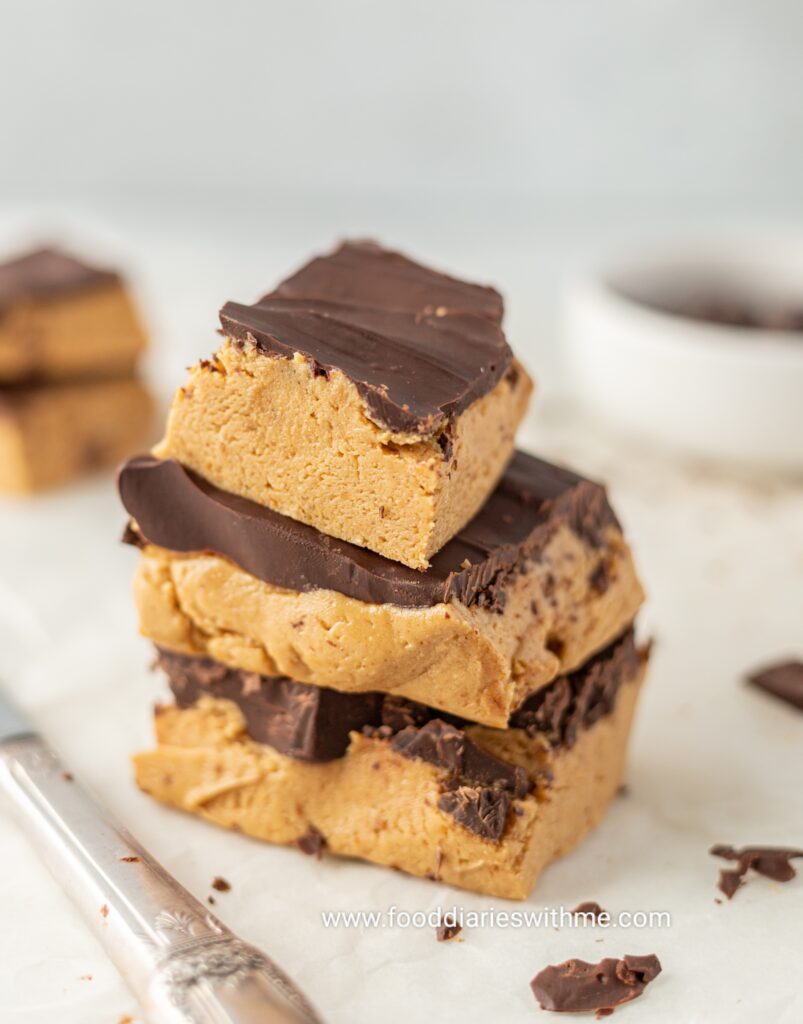
All you need are pantry staples like peanut butter, sugar, butter, and a touch of chocolate. These bars come together in less than 30 minutes with no special equipment required. And perfect for bake sales, potlucks, or simply satisfying a sweet craving at home. You can add your own twist with toppings or variations like oats, coconut, or even caramel. Now, let’s dive into the recipe, but first, a little backstory about why these peanut butter bars have become a staple in my kitchen.
Why Peanut Butter Bars Are a Must-Try Treat:
I remember the first time I made peanut butter bars, it was during a family gathering when I needed something quick and delicious to serve. I was skeptical at first, thinking a dessert this simple couldn’t possibly wow everyone. But as I pulled the tray out of the fridge, cut the bars into squares, and served them, the response was overwhelming.
“Did you make this from scratch?”
“This tastes better than store-bought treats!”
“Can I have the recipe?”
Those were just a few of the comments that day. Since then, peanut butter bars have become my go-to recipe whenever I need something reliable and delicious. They’re so versatile that I’ve even made variations for birthdays, holidays, and casual get-togethers.
Table of Contents
Are peanut butter bars healthy? Let’s Break It Down:
Peanut butter bars can be healthy if you’re using the right ingredients. If they’re made with natural peanut butter, oats, and minimal sugar, they can be a good source of protein and energy. Peanut butter is packed with protein and healthy fats, which can keep you full and energized. Making homemade peanut butter bars can be beneficial because it allows you to control the ingredients. You can add some nuts, seeds, or dry fruits to boost the nutritional value.
Can You Make Peanut Butter Bars Without an Oven?
Yes, you can make peanut butter bars without an oven! No-bake peanut butter bars are quick and easy to prepare. You usually mix ingredients like peanut butter, oats, honey, or maple syrup, then press the mixture into a pan. Chill it in the fridge or freezer until firm, and they’re ready to enjoy. It’s a simple, hassle-free way to make a delicious treat without needing to bake.
Ingredients You’ll Need for Peanut Butter Bars:
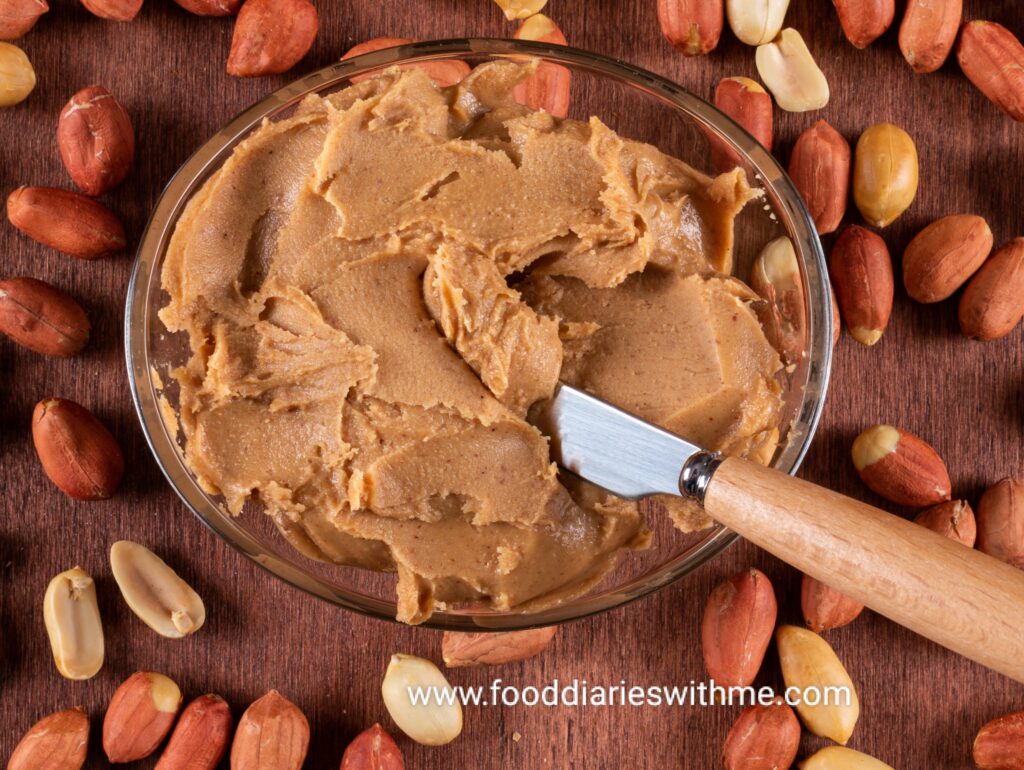
- Peanut Butter: Use creamy or chunky peanut butter. It gives a nutty flavor and rich, creamy texture to the bars. It adds healthy proteins and fats to the dessert and helps to hold the ingredients. Try something different for bars; use almond butter, cashew butter, coconut butter, or even homemade tahini.
- Unsalted butter: It creates smooth texture to bars and easily binds with peanut butter. Especially when the bars set. Unsalted butter helps to balance out the sweetness. You can use coconut oil, applesauce, or Greek yogurt as well.
- Powered Sugar: The fine texture of sugar blends easily with peanut butter and gives lump- free consistency. It provides perfect sweetness to bars. You’ve got to choose some more options for sweetness: coconut sugar, maple syrup, or honey.
- Graham cracker crumbs: it has a mild, slightly sweet, and toasy flavor and is the perfect complement for peanut butter. It acts as a binder and helps to hold the bars together while giving them a crumbly, slightly crunchy texture. Don’t have Graham cracker? No worries; use digestive biscuit crumbs or Vanilla wafer crumbs. For a healthy option, you’ve got to use rolled oats.
- Semi-sweet chocolate chips: The slightly bitter taste of semi-sweet chocolate chips perfectly complies with peanut butter. It melts smoothly and gives a perfect layer over the present butter. It works well in both no-bake and baked peanut butter bars. You can choose the chocolates according to your choices. Use dark chocolate, milk chocolate, bittersweet chocolate, and white chocolate.
The Secret to the Perfect Peanut Butter-to-Chocolate Ratio:
There is no more secret to the perfect peanut butter to chocolate ratio. It’s all about your choices. The perfection lies in balancing richness and sweetness. Start with equal parts peanut butter and chocolate. Then adjust according to your taste preference. If you want a richer treat, then slightly increase the amount of peanut butter, and if you want a sweeter treat, then feel free to increase the amount of chocolate. But make sure to use semi-sweet or milk chocolate; it helps to overpower the peanut butter. To make perfect peanut butter bars, you’ve got to choose complementary textures, like smooth peanut butter paired with creamy chocolate or crunchy peanut butter with a crisp chocolate shell.
Step-by-Step Guide to Making Peanut Butter Bars:
- Prepare the pan: Line an 9×9-inch square baking dish with parchment paper, making sure to leave some overhang for easy removal.
- Make the peanut butter layer: In a microwave-safe bowl, melt the butter until it becomes fully liquid. Take a large bowl, then combine the melted butter, peanut butter, Graham cracker crumbs, and powdered sugar. Mix well until it becomes smooth and forms a dough-like consistency.
- Press the mixture evenly into the baking dish using a spatula. Make sure the surface of the peanut butter layer should be smooth and even.
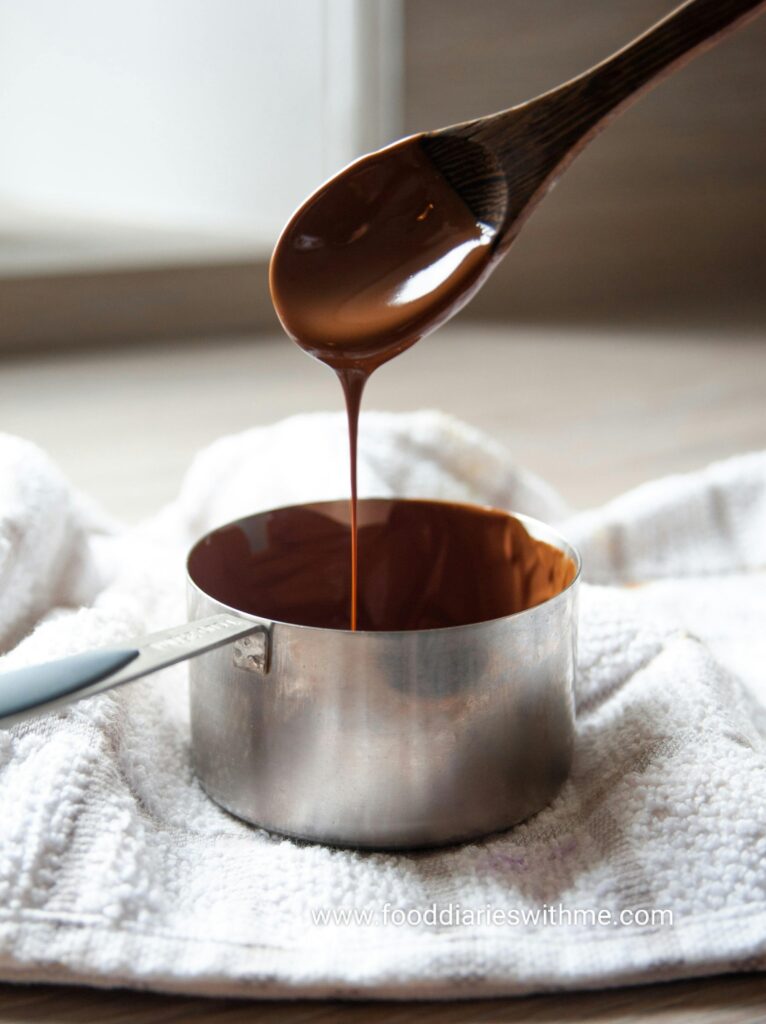
- Prepare the chocolate topping: Combine the chocolate chips and peanut butter in a microwave-safe bowl, then microwave until fully melted and smooth. Make sure to stir in between 20 seconds of interval. You can use the double boiler method as well.
- Add the vanilla extract and gently pour the melted chocolate mixture over the peanut butter layer and spread it evenly with a spatula.
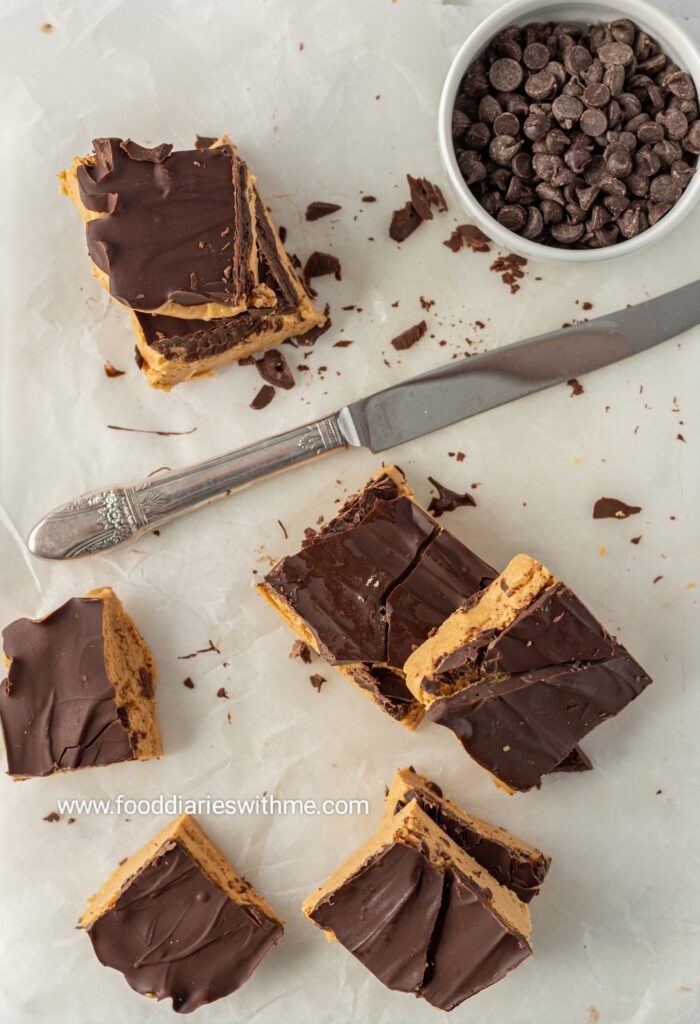
- Chill and serve: Place the baking dish in the refrigerator for 1-2 hours. Until the chocolate topping is firm. Then remove the dish from the fridge and let it sit at room temperature for 5-10 minutes to make slicing easier. Use the sharp knife to cut into bars and serve.
Gluten-Free and Vegan Peanut Butter Bar Options:
To make the bars gluten-free as well as vegan bars, simply swipe up the ingredients. Use natural peanut butter, gluten-free oats, or almond flour, and use maple syrup for sweetness. For more texture, mix in some vegan chocolate chips, chopped nuts, or you can use shredded coconut as well. Blend the peanut butter with gluten-free protein powder and almond milk, then add some chia seeds for a nutritional boost, make bars, and refrigerate for some time. These bars are no-bake and perfect for snacking or a healthy dessert option.
What Are the Common Mistakes to Avoid When Making Peanut Butter Bars?
1) Using natural peanut butter without stirring is the most common mistake. So make sure to use creamy peanut butter, and if you’re using natural one, then well-mixed to avoid separation.
2) Some people may not use measuring instruments. But it’s important to use measuring cups and spoons for accurate measurements. It helps to give perfect bars.
3) We’ve all been there impatiently eyeing those delicious peanut butter bars, eager to dig in. But don’t forget to chill in the bars. If you cut the bars too soon, they’ll crumble, and you won’t get the perfect firm texture
4) Overheating your peanut butter, butter, or chocolate can lead to a greasy, separated mess. So, slow and steady wins the race here. Use low heat and stir gently, giving each ingredient the time it needs to melt together smoothly.
5) Many people used gluten-free flour or ingredients, but they forgot to follow the proper instructions. Understanding the proper recipe is important while using any substitutes.
How Long Do Peanut Butter Bars Last?
- Peanut butter bars last about 5-7 days when you store them properly at room temperature in an airtight container. If you want to store them for a longer period of time, you’ve got to refrigerate them, which can extend their shelf life to 2 weeks.
- Freezing peanut butter bars is an option, and they can last up to 3 months in the freezer. But make sure to wrap in plastic, then store in a freezer-safe bag to prevent freezer burns.
Peanut Butter Bars as a Party Treat: Styling and Serving Tips:
1) Decorate the bars with Sprinkle crushed nuts, add a pinch of salt, and drizzle melted chocolate over the top of bars; it gives a fancy look and enhances the taste.
2) Arrange the bars on a colorful or themed plate to match your party decor and place each in a line for a neat and grab-and-go option.
3) Pair these peanut butter bars with my other treats, like fudgy brownies and vegan cookies, on a decorative dessert platter.
4) Serve peanut butter bars with different variations, such as ones topped with jell chocolate chips, or a swirl of marshmallow. And slightly heat the bars before serving for a gooey texture, especially if they have a chocolate topping.
5) For the seasonal touch, you’ve got to use different cookie cutters to give them funny or
fancy shapes like hearts, trees, or stars.
Peanut Butter Bars Recipe
Equipment
- 1 Baking Pan
- 1 parchment paper
- 1 Mixing Bowl
- 1 Sharp Knife
Ingredients
- 1 Cup Peanut Butter
- 1/2 Cup Unsalted Butter ( Softened )
- 2 Cups Powdered Sugar
- 1 Cup Graham Cracker Crumbs
- 1 Tsp Vanilla Extract
- 1 Cup Semi-Sweet Chocolate Chips
- 2 Tbsp Peanut Butter ( For The Chocolate Topping )
Instructions
- In a large mixing bowl, add melted butter, peanut butter, Graham crackers crumbs, and powdered sugar mix until the ingredients are well combined and form a dough-like consistency.
- Press this mixture into a 9×13-inch greased or parchment-lined baking pan. Make sure it forms a smooth and compact layer.
- Melt the chocolate chips in a microwave-safe bowl and add peanut butter in 20 seconds of interval, then stir well until it becomes smooth. Add the vanilla extract, and spread the melted chocolate mixture over the peanut butter layer. Spread it evenly with the help of a spatula.
- Place the pan in the refrigerator for about 2 hours or until the bars are fully set. Once they set, remove the pan from the refrigerator and let it sit at room temperature. Cut the bars in square shape and enjoy your peanut butter bars with your favorite desserts.
Frequently asked questions:
1) Can I use crunchy peanut butter?
Ans: Yes, you can use crunchy peanut butter in peanut butter bars! It adds a nice texture and extra crunch, making the bars even more satisfying. Just swap it for smooth peanut butter in your recipe, and the bars will still turn out delicious with an added layer of crunchiness.
2) Can I make these bars dairy-free?
Ans: Yes, you can make peanut butter bars dairy-free by using dairy-free alternatives. For example, substitute regular butter with dairy-free margarine or coconut oil, and choose dairy- free chocolate chips or cocoa powder for the topping. Just make sure all ingredients are free from dairy to keep the bars completely dairy-free.
3) What if I don’t have Graham crackers?
Ans: If you don’t have Graham crackers, you can substitute them with other crunchy cookies like digestive biscuits, vanilla wafers, or even a mix of crushed pretzels and sugar. These alternatives will provide a similar texture and sweetness, making them a great option for crusts in pies, cheesecakes, or no-bake desserts.
4) Can I freeze these bars?
Ans: Yes, you can freeze bars! Simply allow them to cool completely before wrapping them tightly in plastic wrap or aluminum foil. Place them in an airtight container or freezer bag to prevent freezer burn. When you’re ready to enjoy them, just let them thaw at room temperature for a few hours or in the fridge overnight.
Make These Bars Today – Your Taste Buds Will Thank You!
If you’re looking for a simple, no-fail dessert that everyone will love, these peanut butter bars are it. They’re easy to make, packed with flavor, and incredibly versatile. Whether you’re a seasoned baker or just starting out, this recipe is sure to become a staple in your kitchen. So why wait? Gather your ingredients, follow the steps, and treat yourself to a batch of homemade peanut butter bars. And don’t forget to share them—you might just become the dessert hero of your circle!